Car Ambient Lighting Wiring Guidance
(For Special car models)

  • Warning: Unauthorized installation by non-professionals is strictly prohibited to avoid damage to the vehicle or equipment.
  • Pre-Installation Check: Inspect vehicle functions and exterior/interior surfaces for scratches before installation. Communicate any issues with the vehicle owner immediately.
  • Safety Precautions: Remove all metal accessories and valuables before disassembly to prevent damage to seats or loss of items.
  • Installation Process: Store disassembled parts properly to avoid scratching the vehicle. Clean debris from wiring and ensure all wire ends are insulated to prevent short circuits. Test the lights and make sure there’s no issue before restore the dashbaord and doors.
  • Wiring Best Practices: Route wiring rationally to minimize space usage. Pre-plan wire paths for efficient assembly and secure wiring to prevent detachment.
  • Critical Reminder: Do not unplug connected wires or accessories while the system is powered on to avoid damage from hot-swapping.

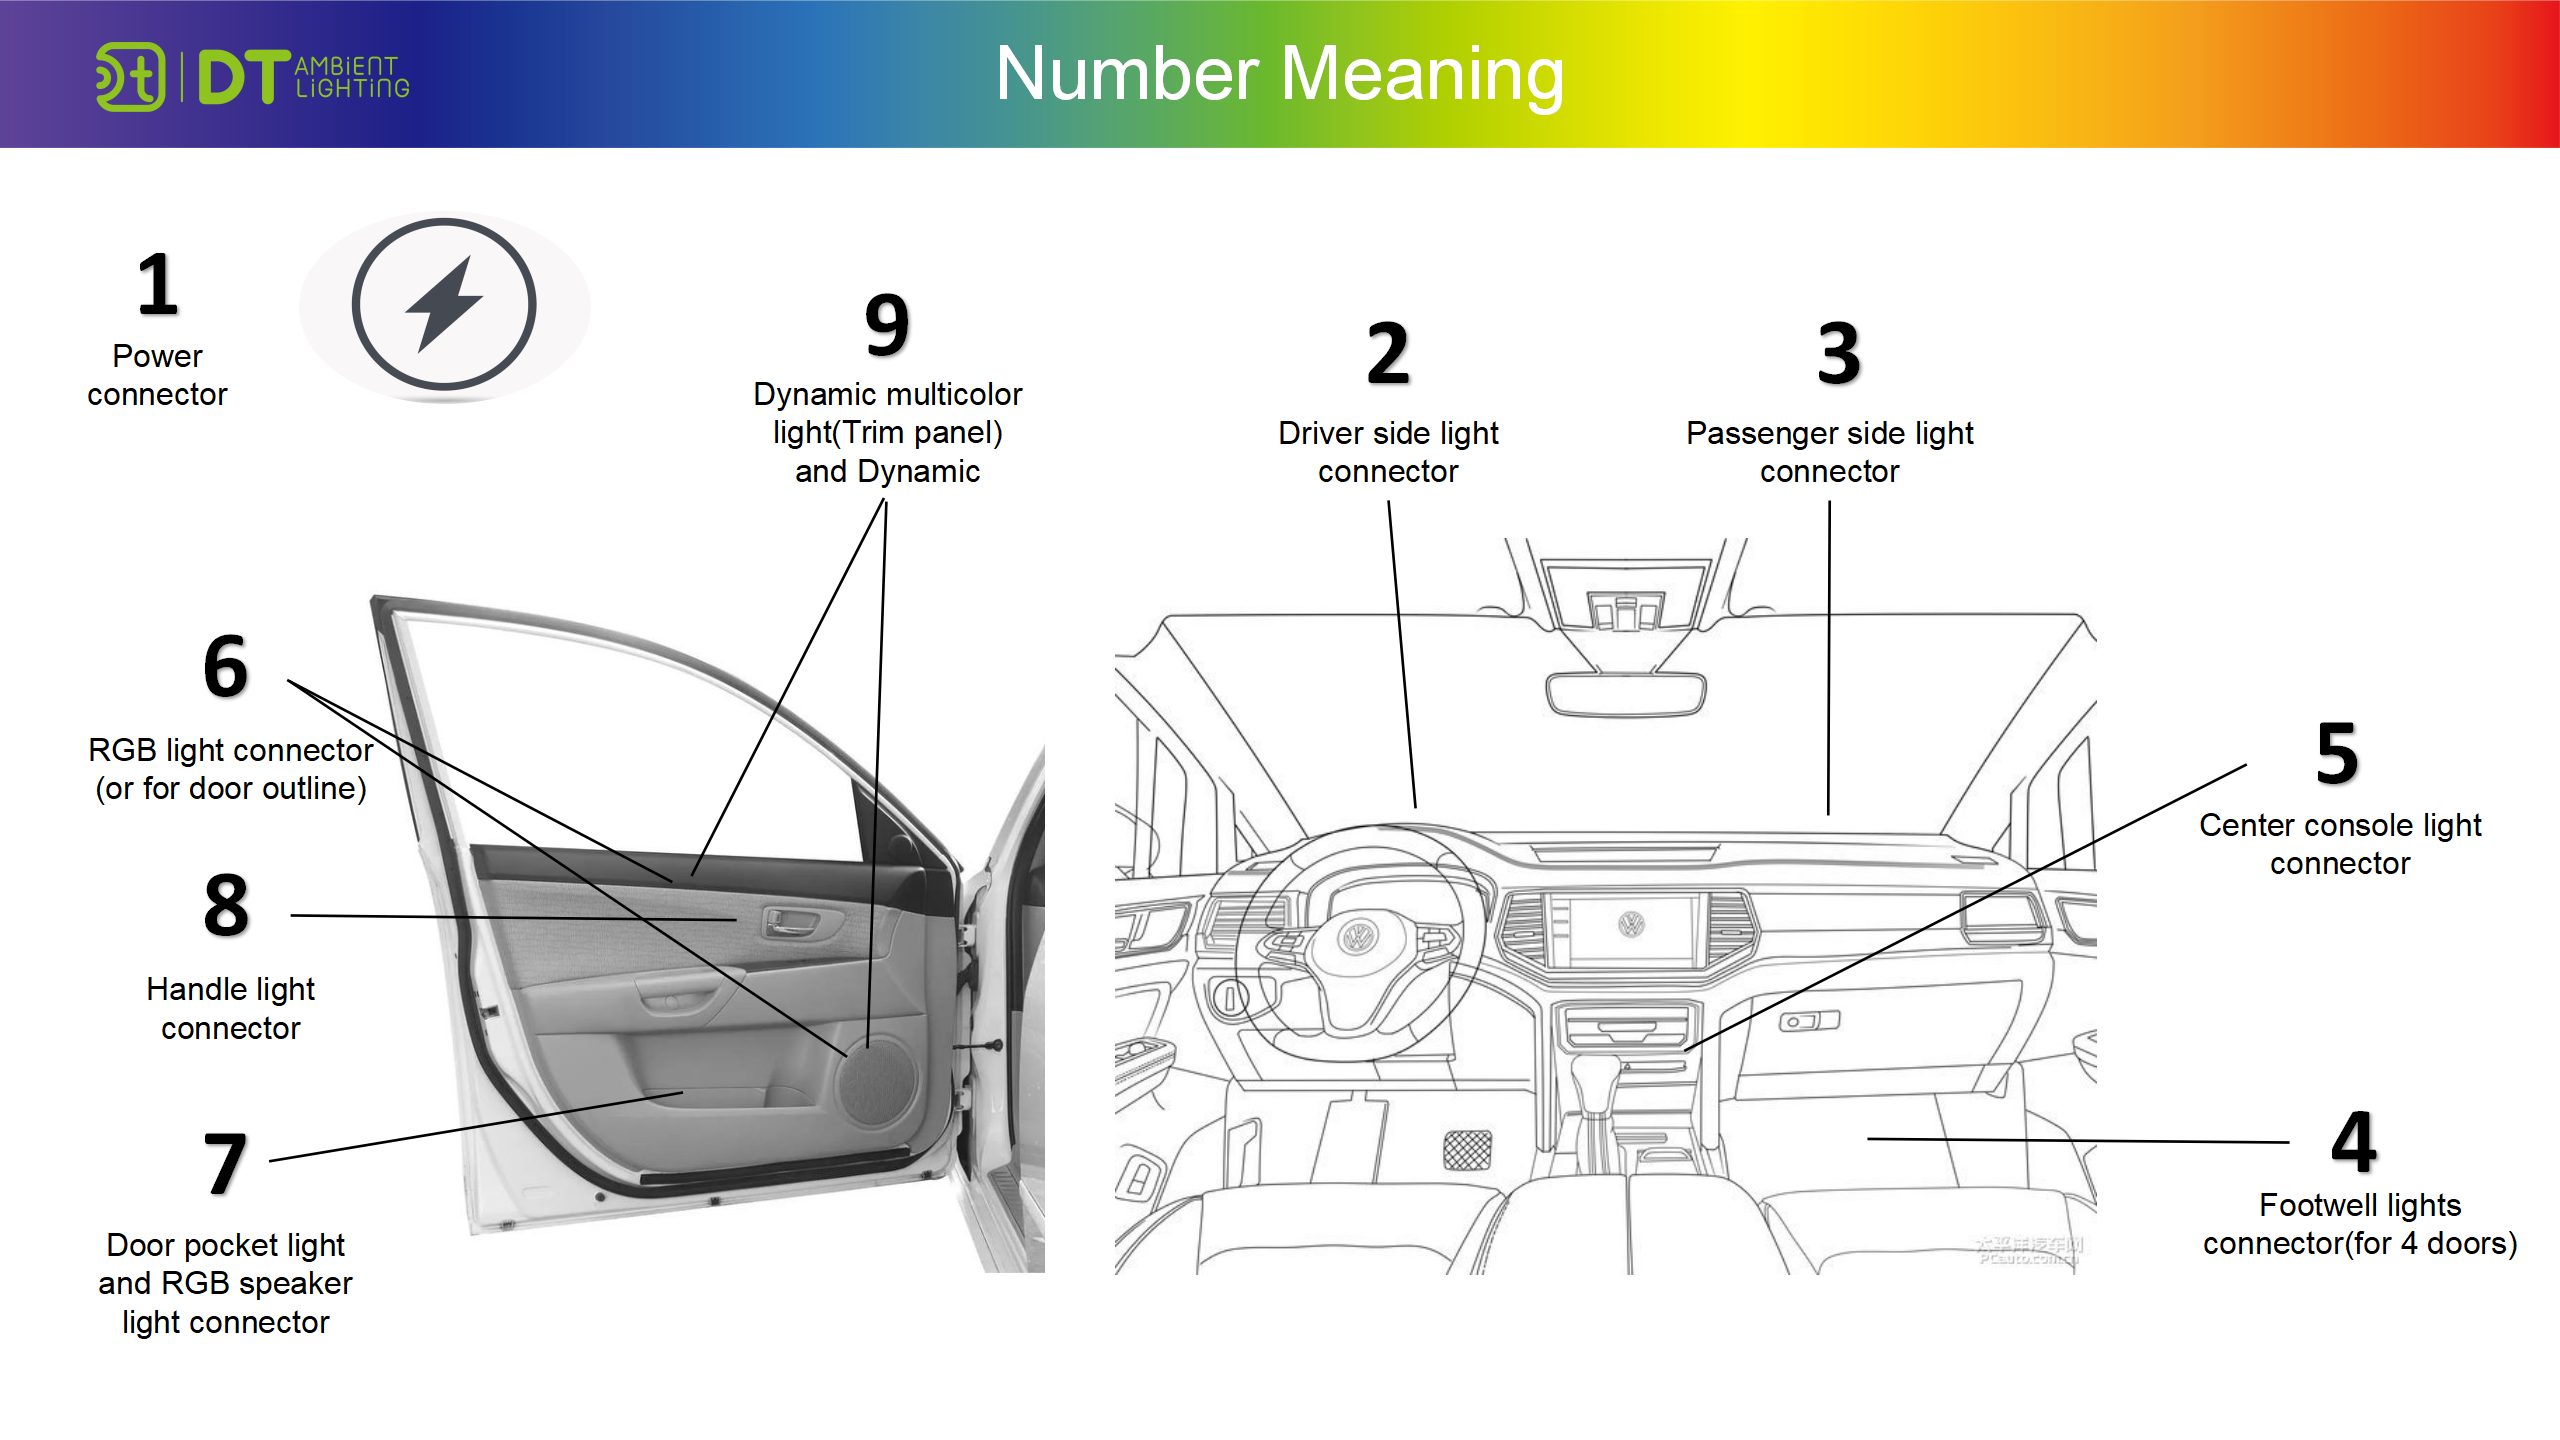
The meaning of Number

1

Power connector

2

Driver side light connector

3

Passenger side light connector

4

Footwell lights connector(for 4 doors)

5

Center console light connector

6

RGB light connector (or for door outline)

7

Door pocket light and RGB speaker light connector

8

Handle light connector

9

Dynamic multicolor light(Trim panel) and Dynamic multicolor speaker light connector

10

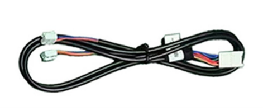
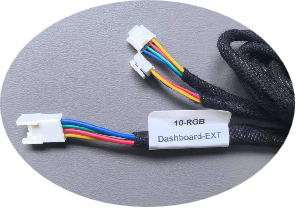
Extension wires

10-RGB

RGB extension

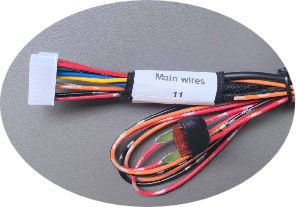
11

Main wires

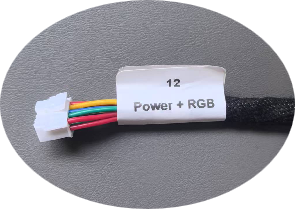
12

Power+RGB

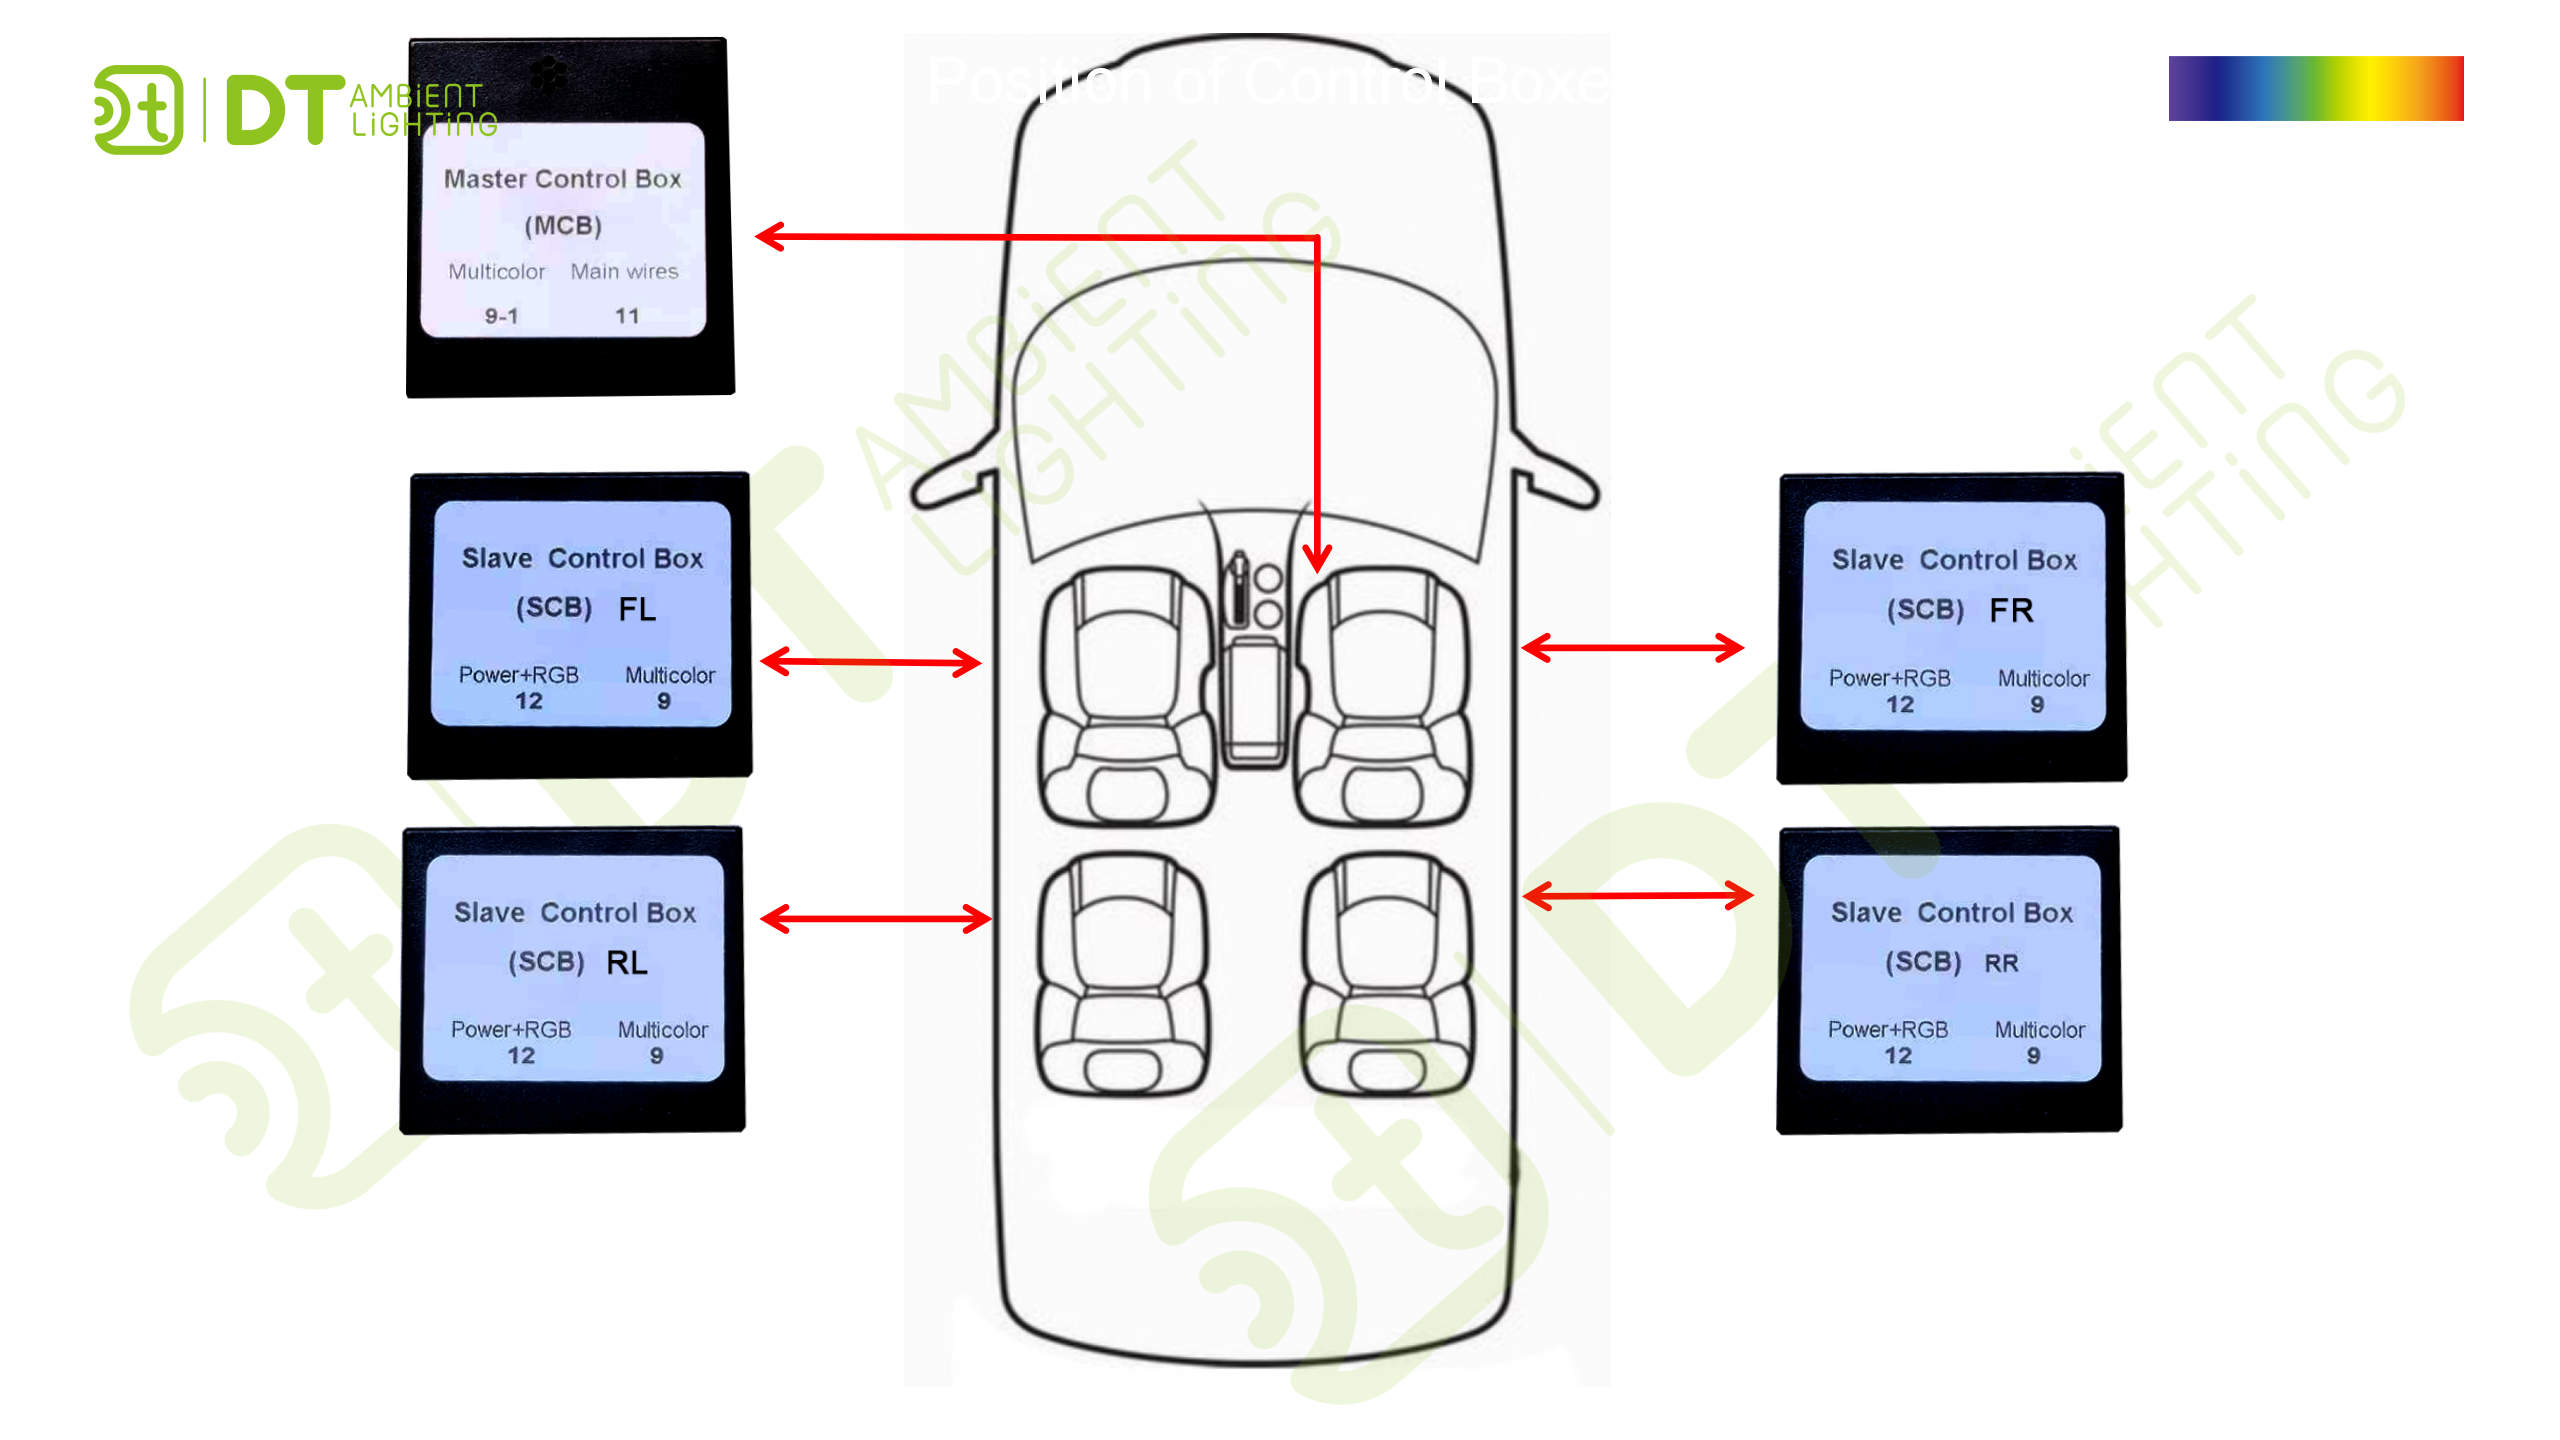
Position of Control Boxes

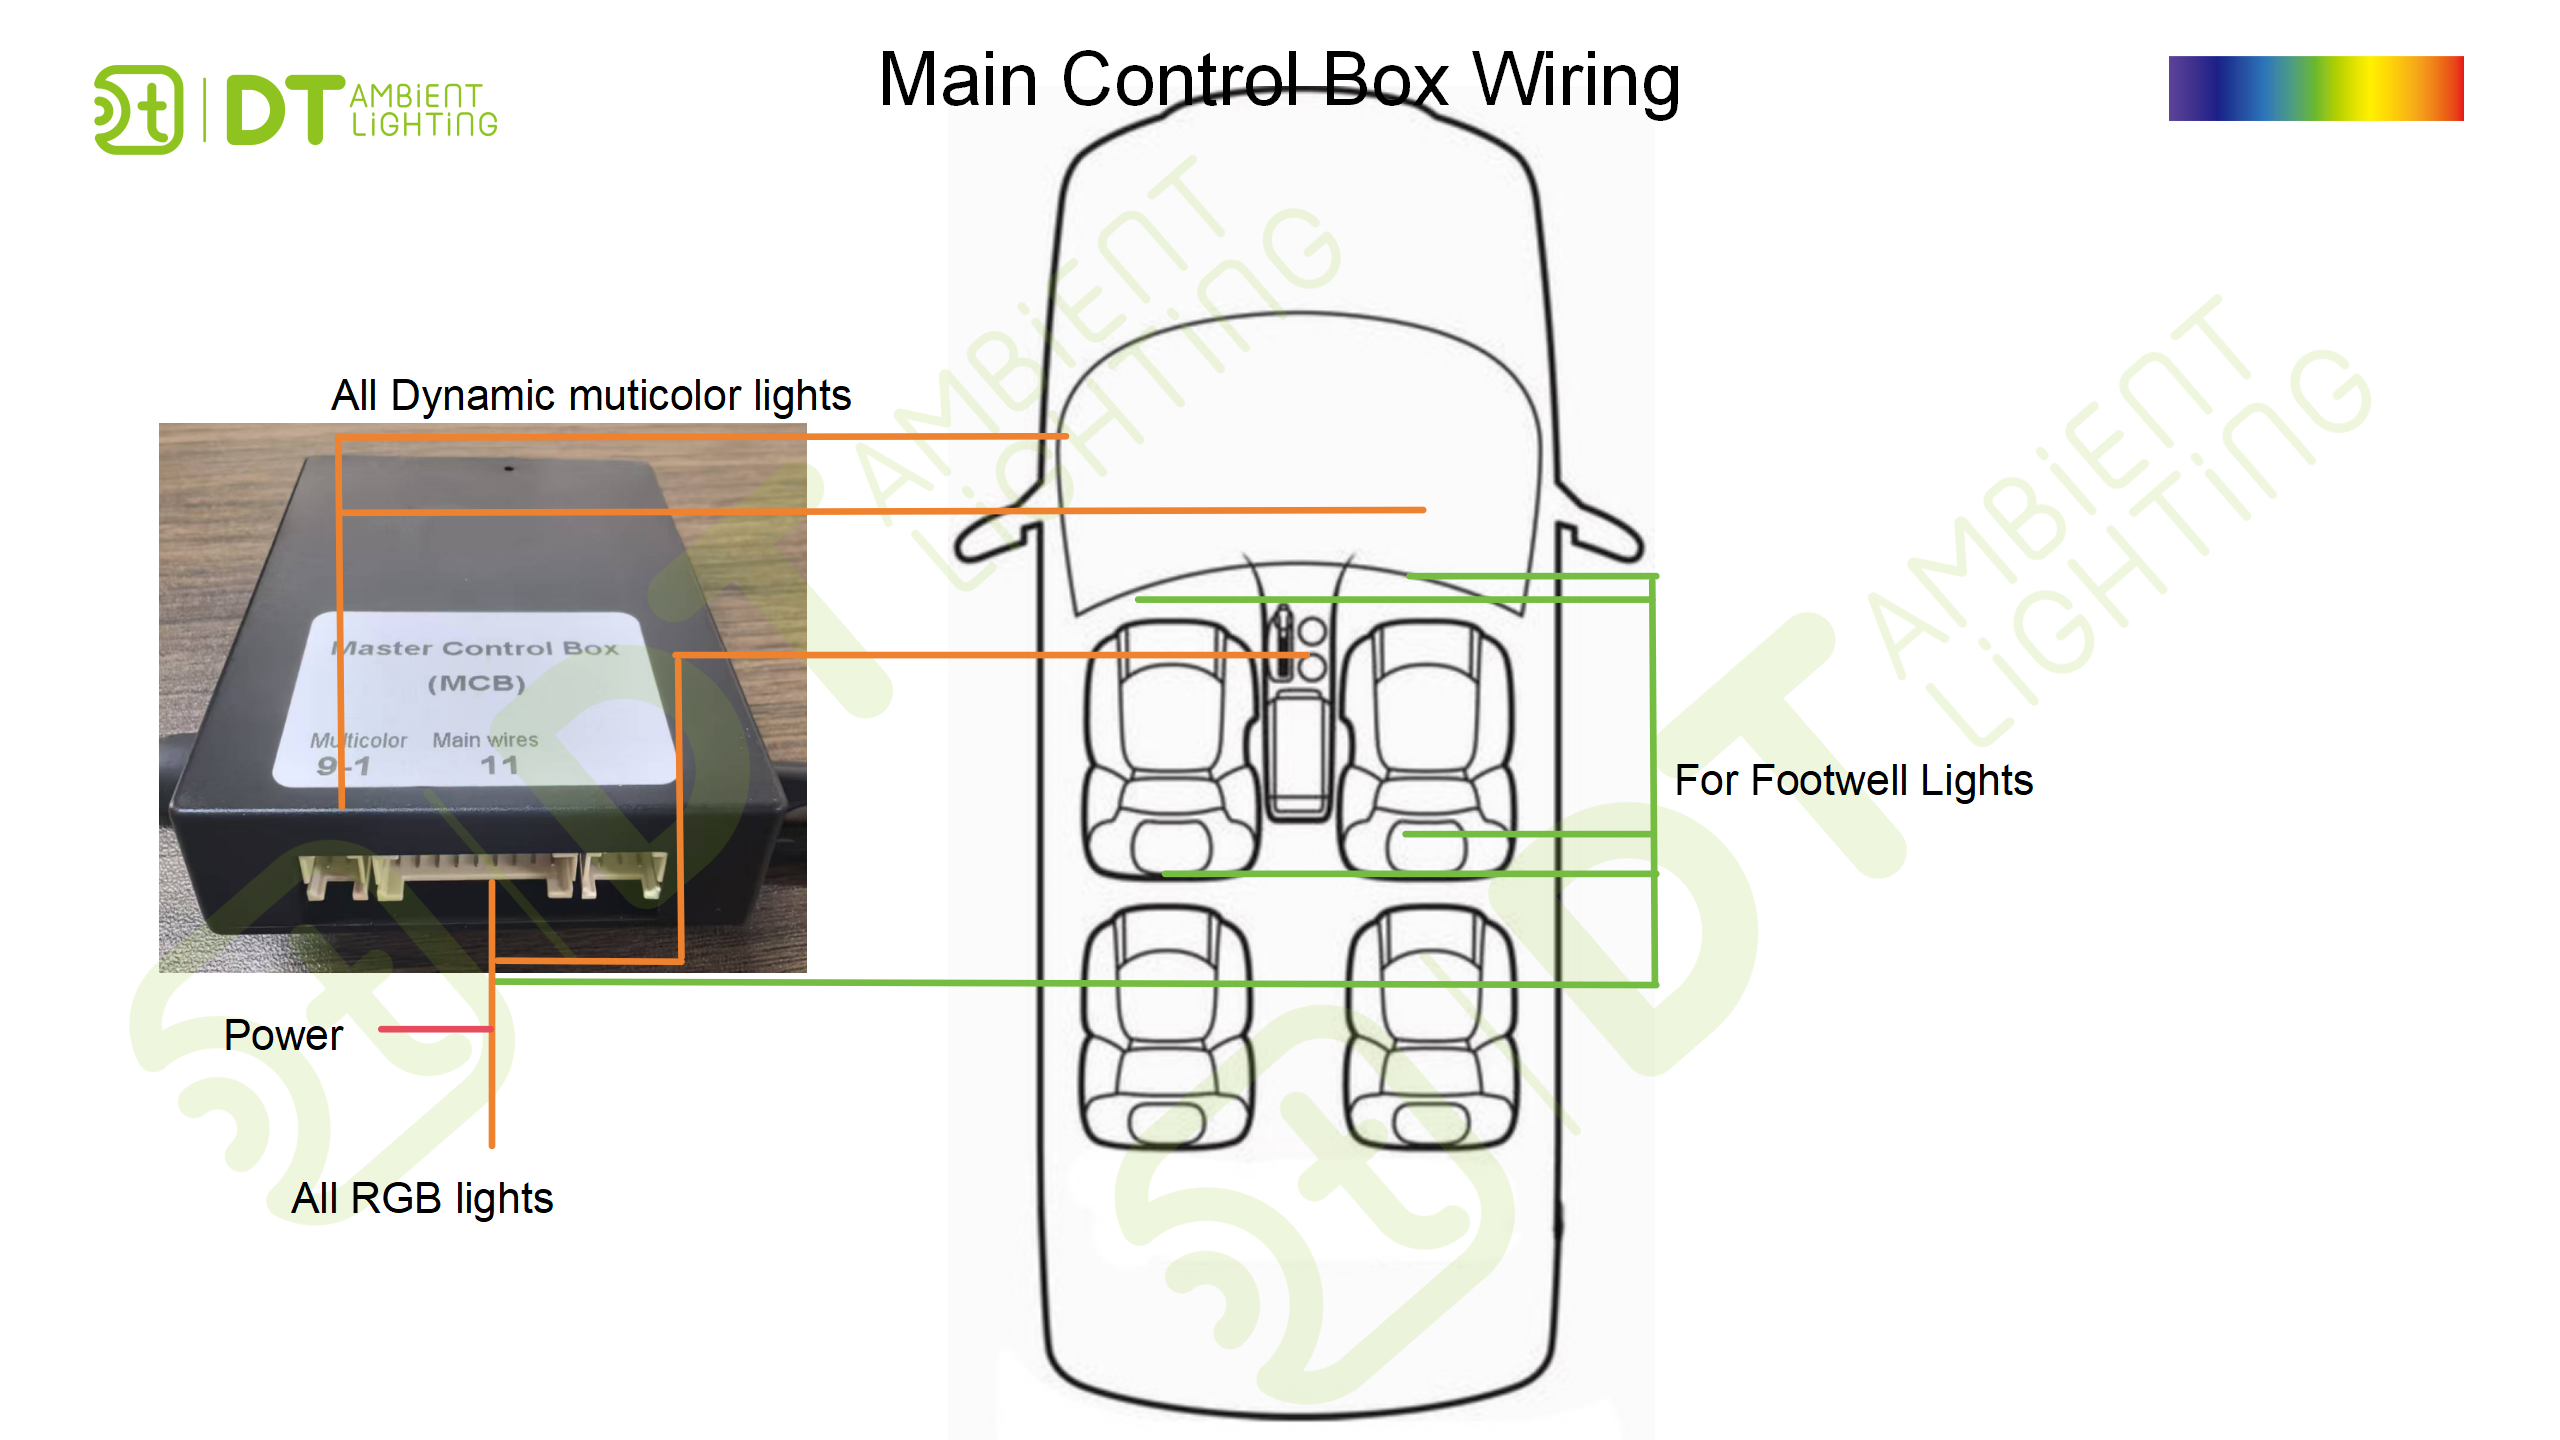
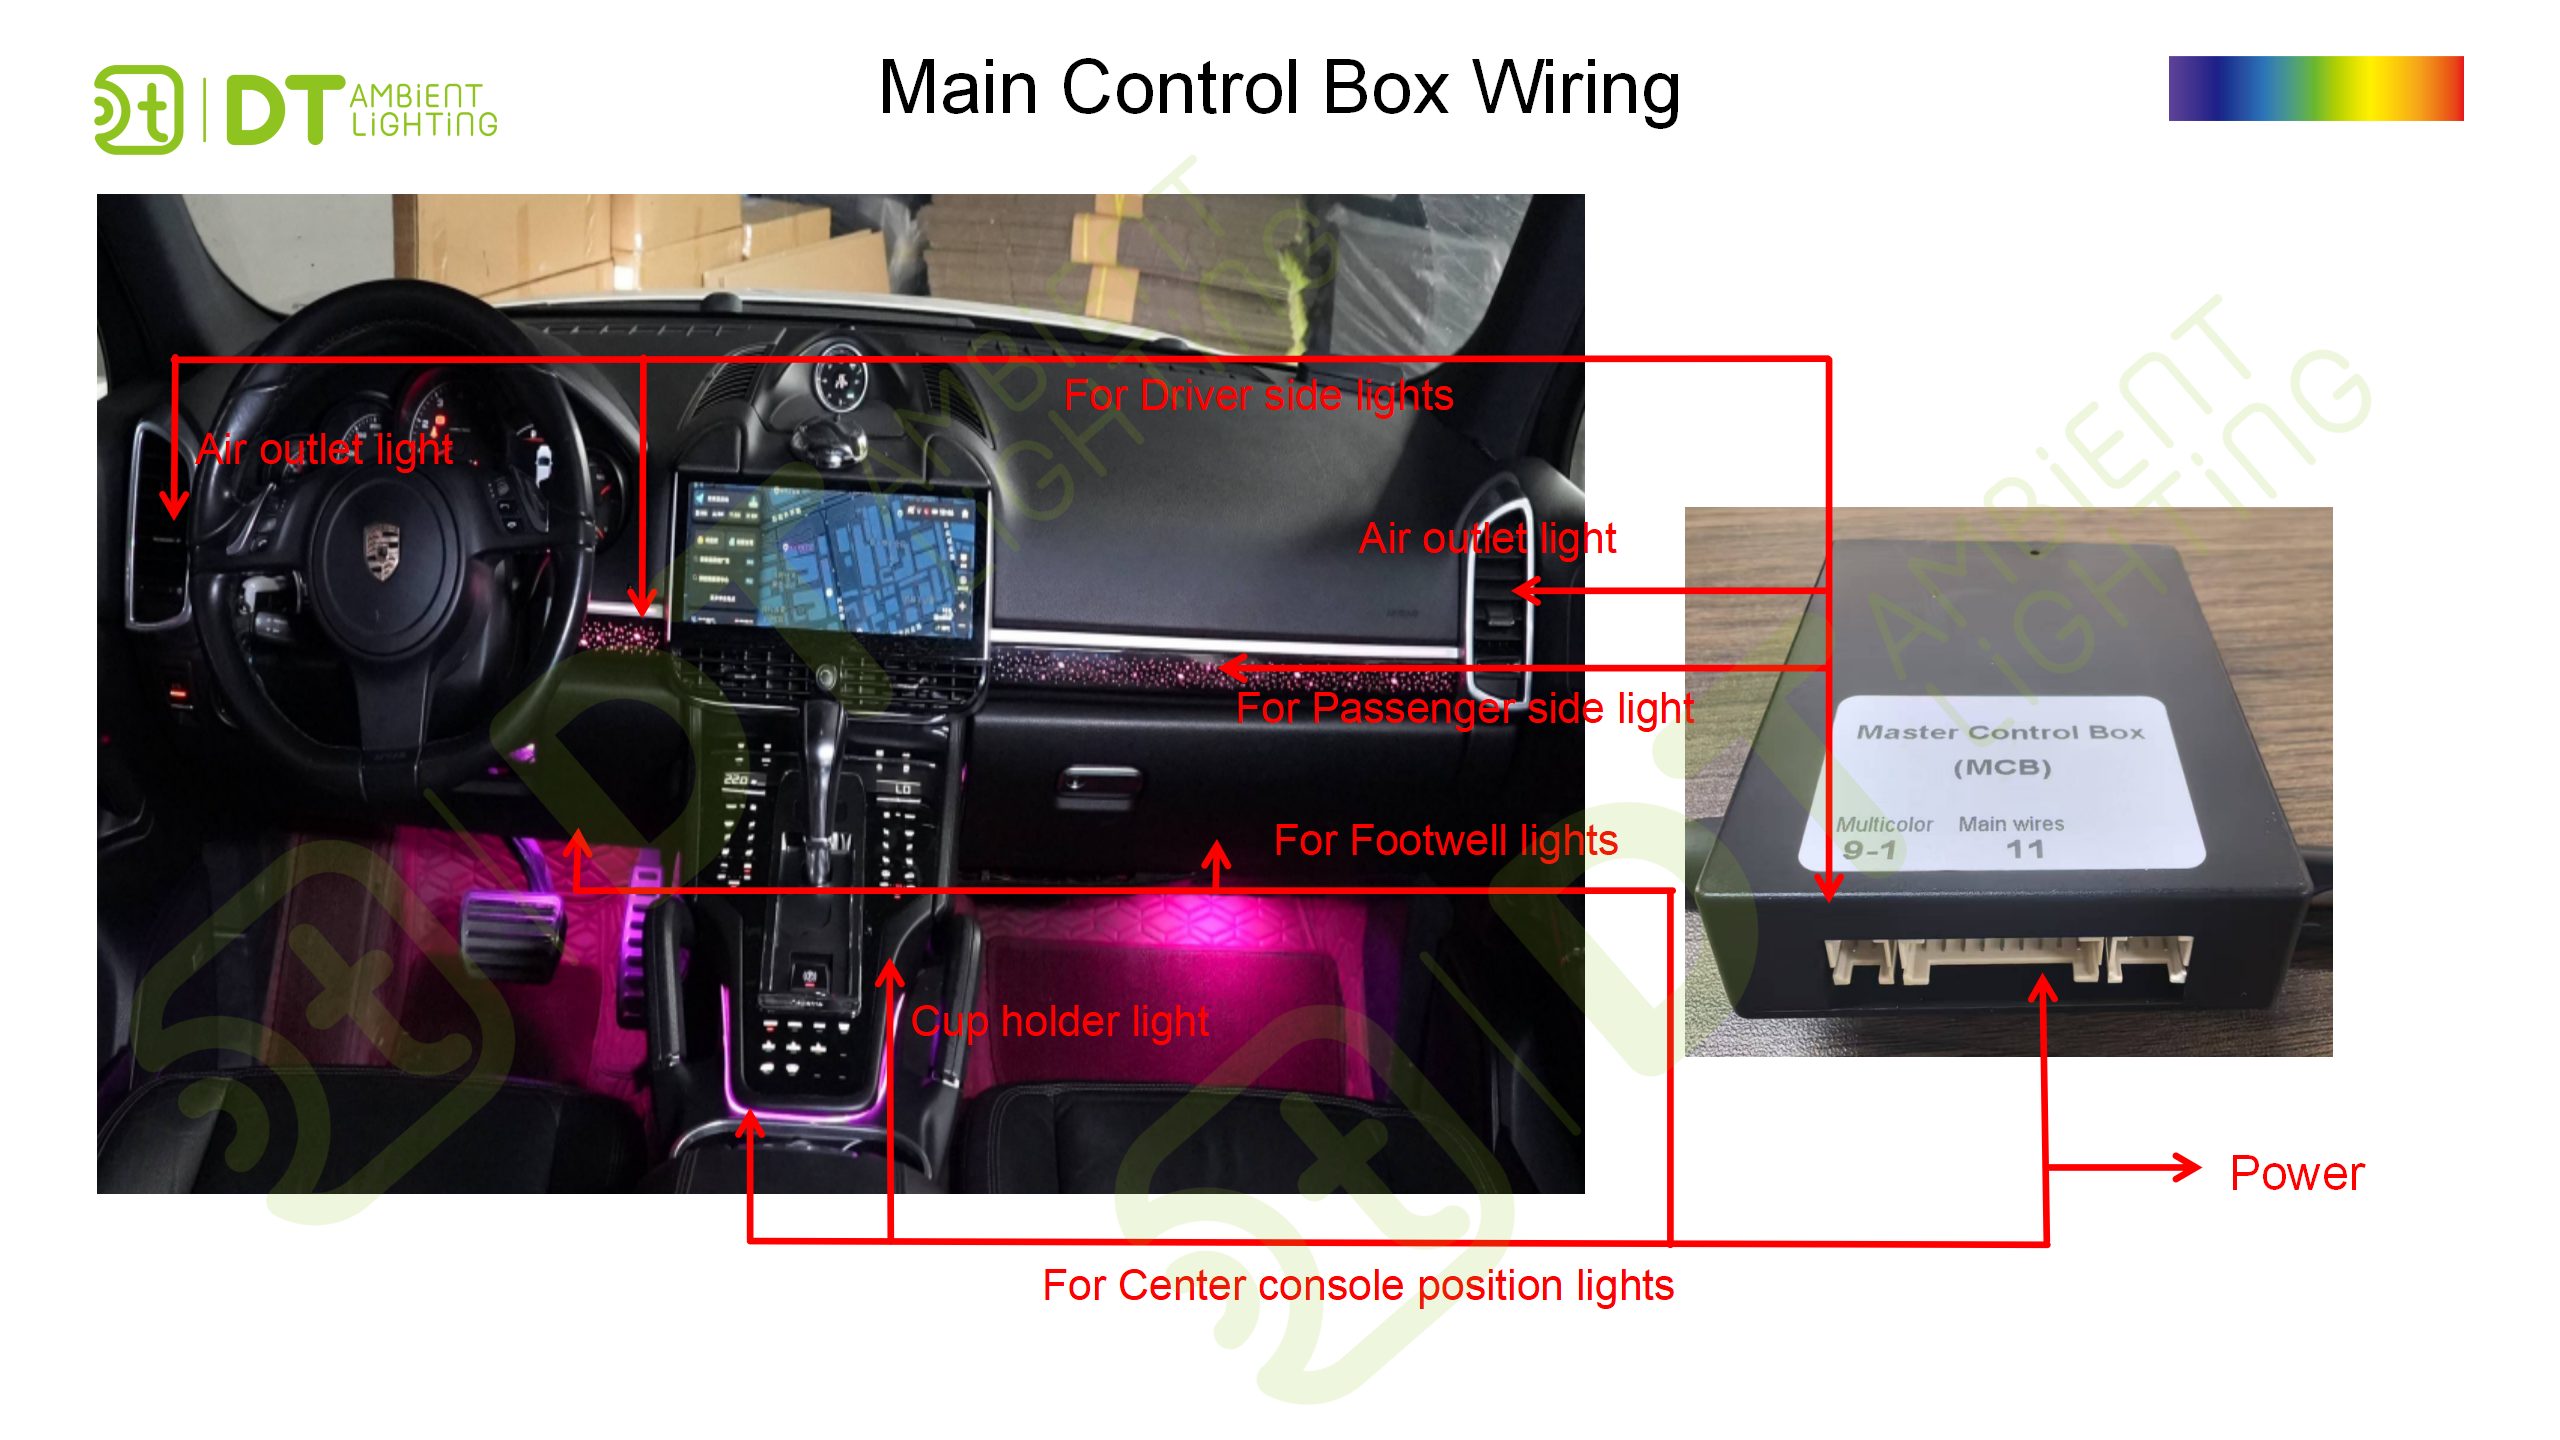
Main Control Box Wiring

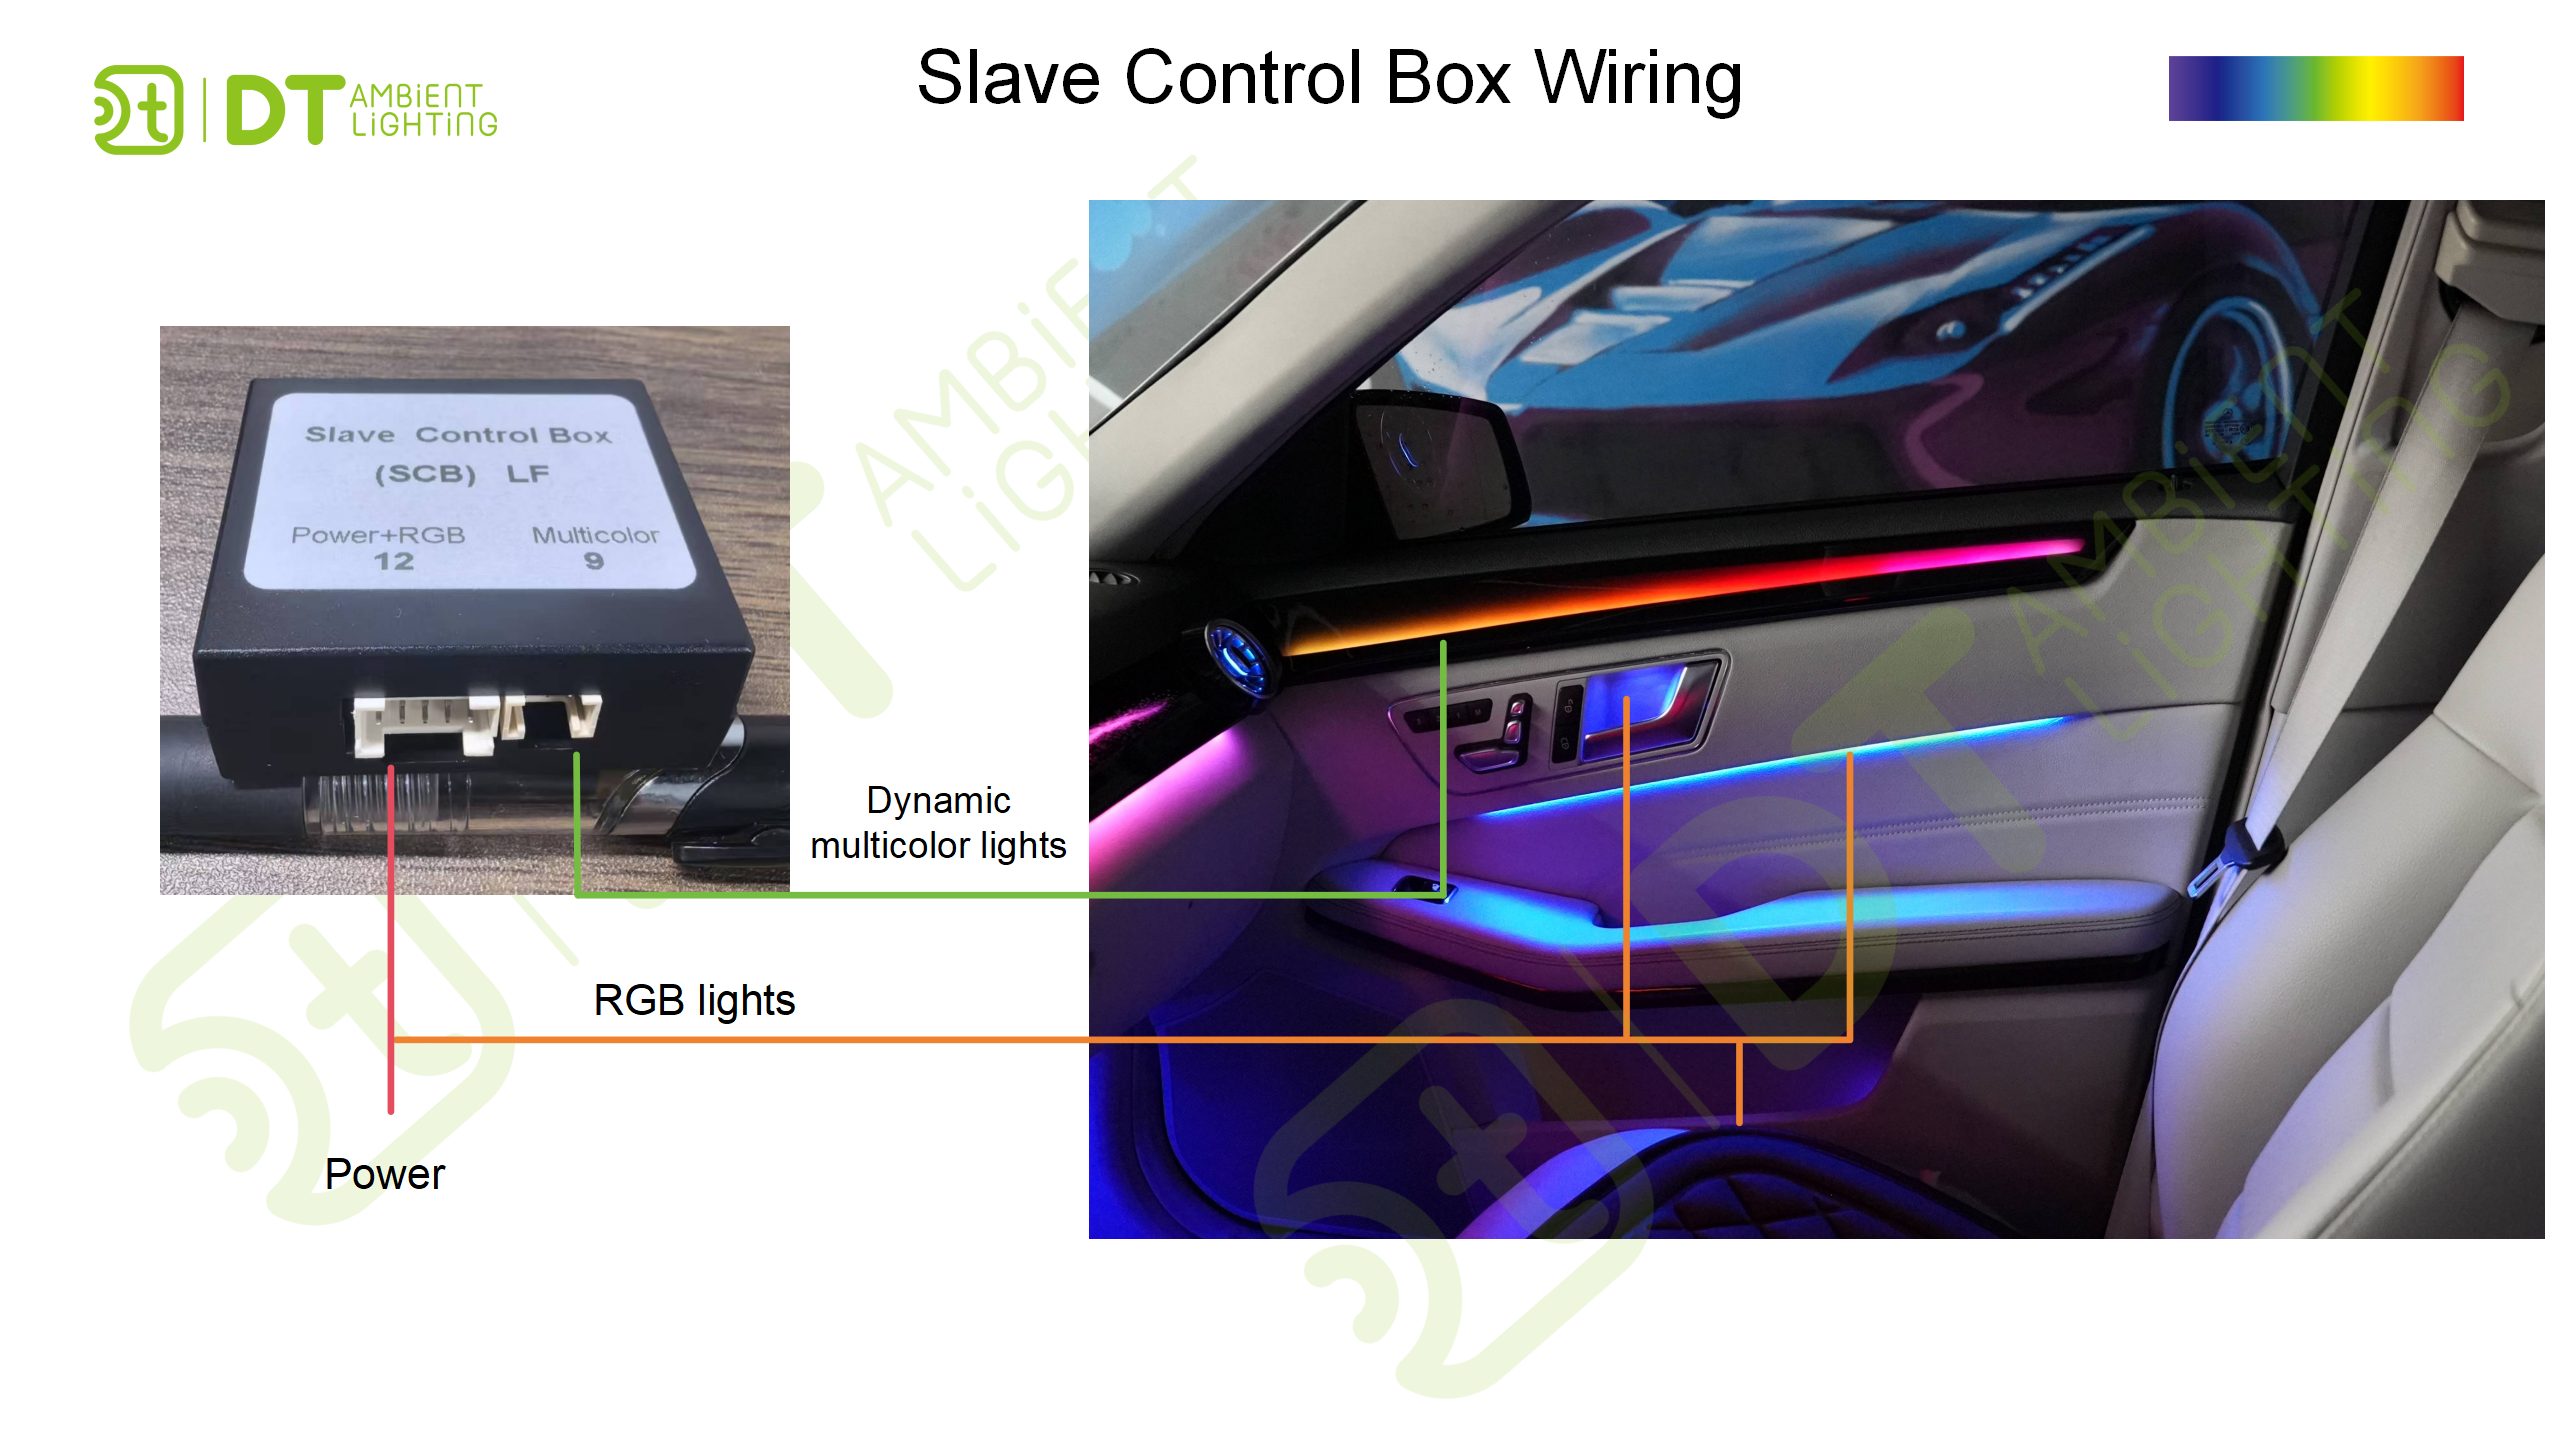
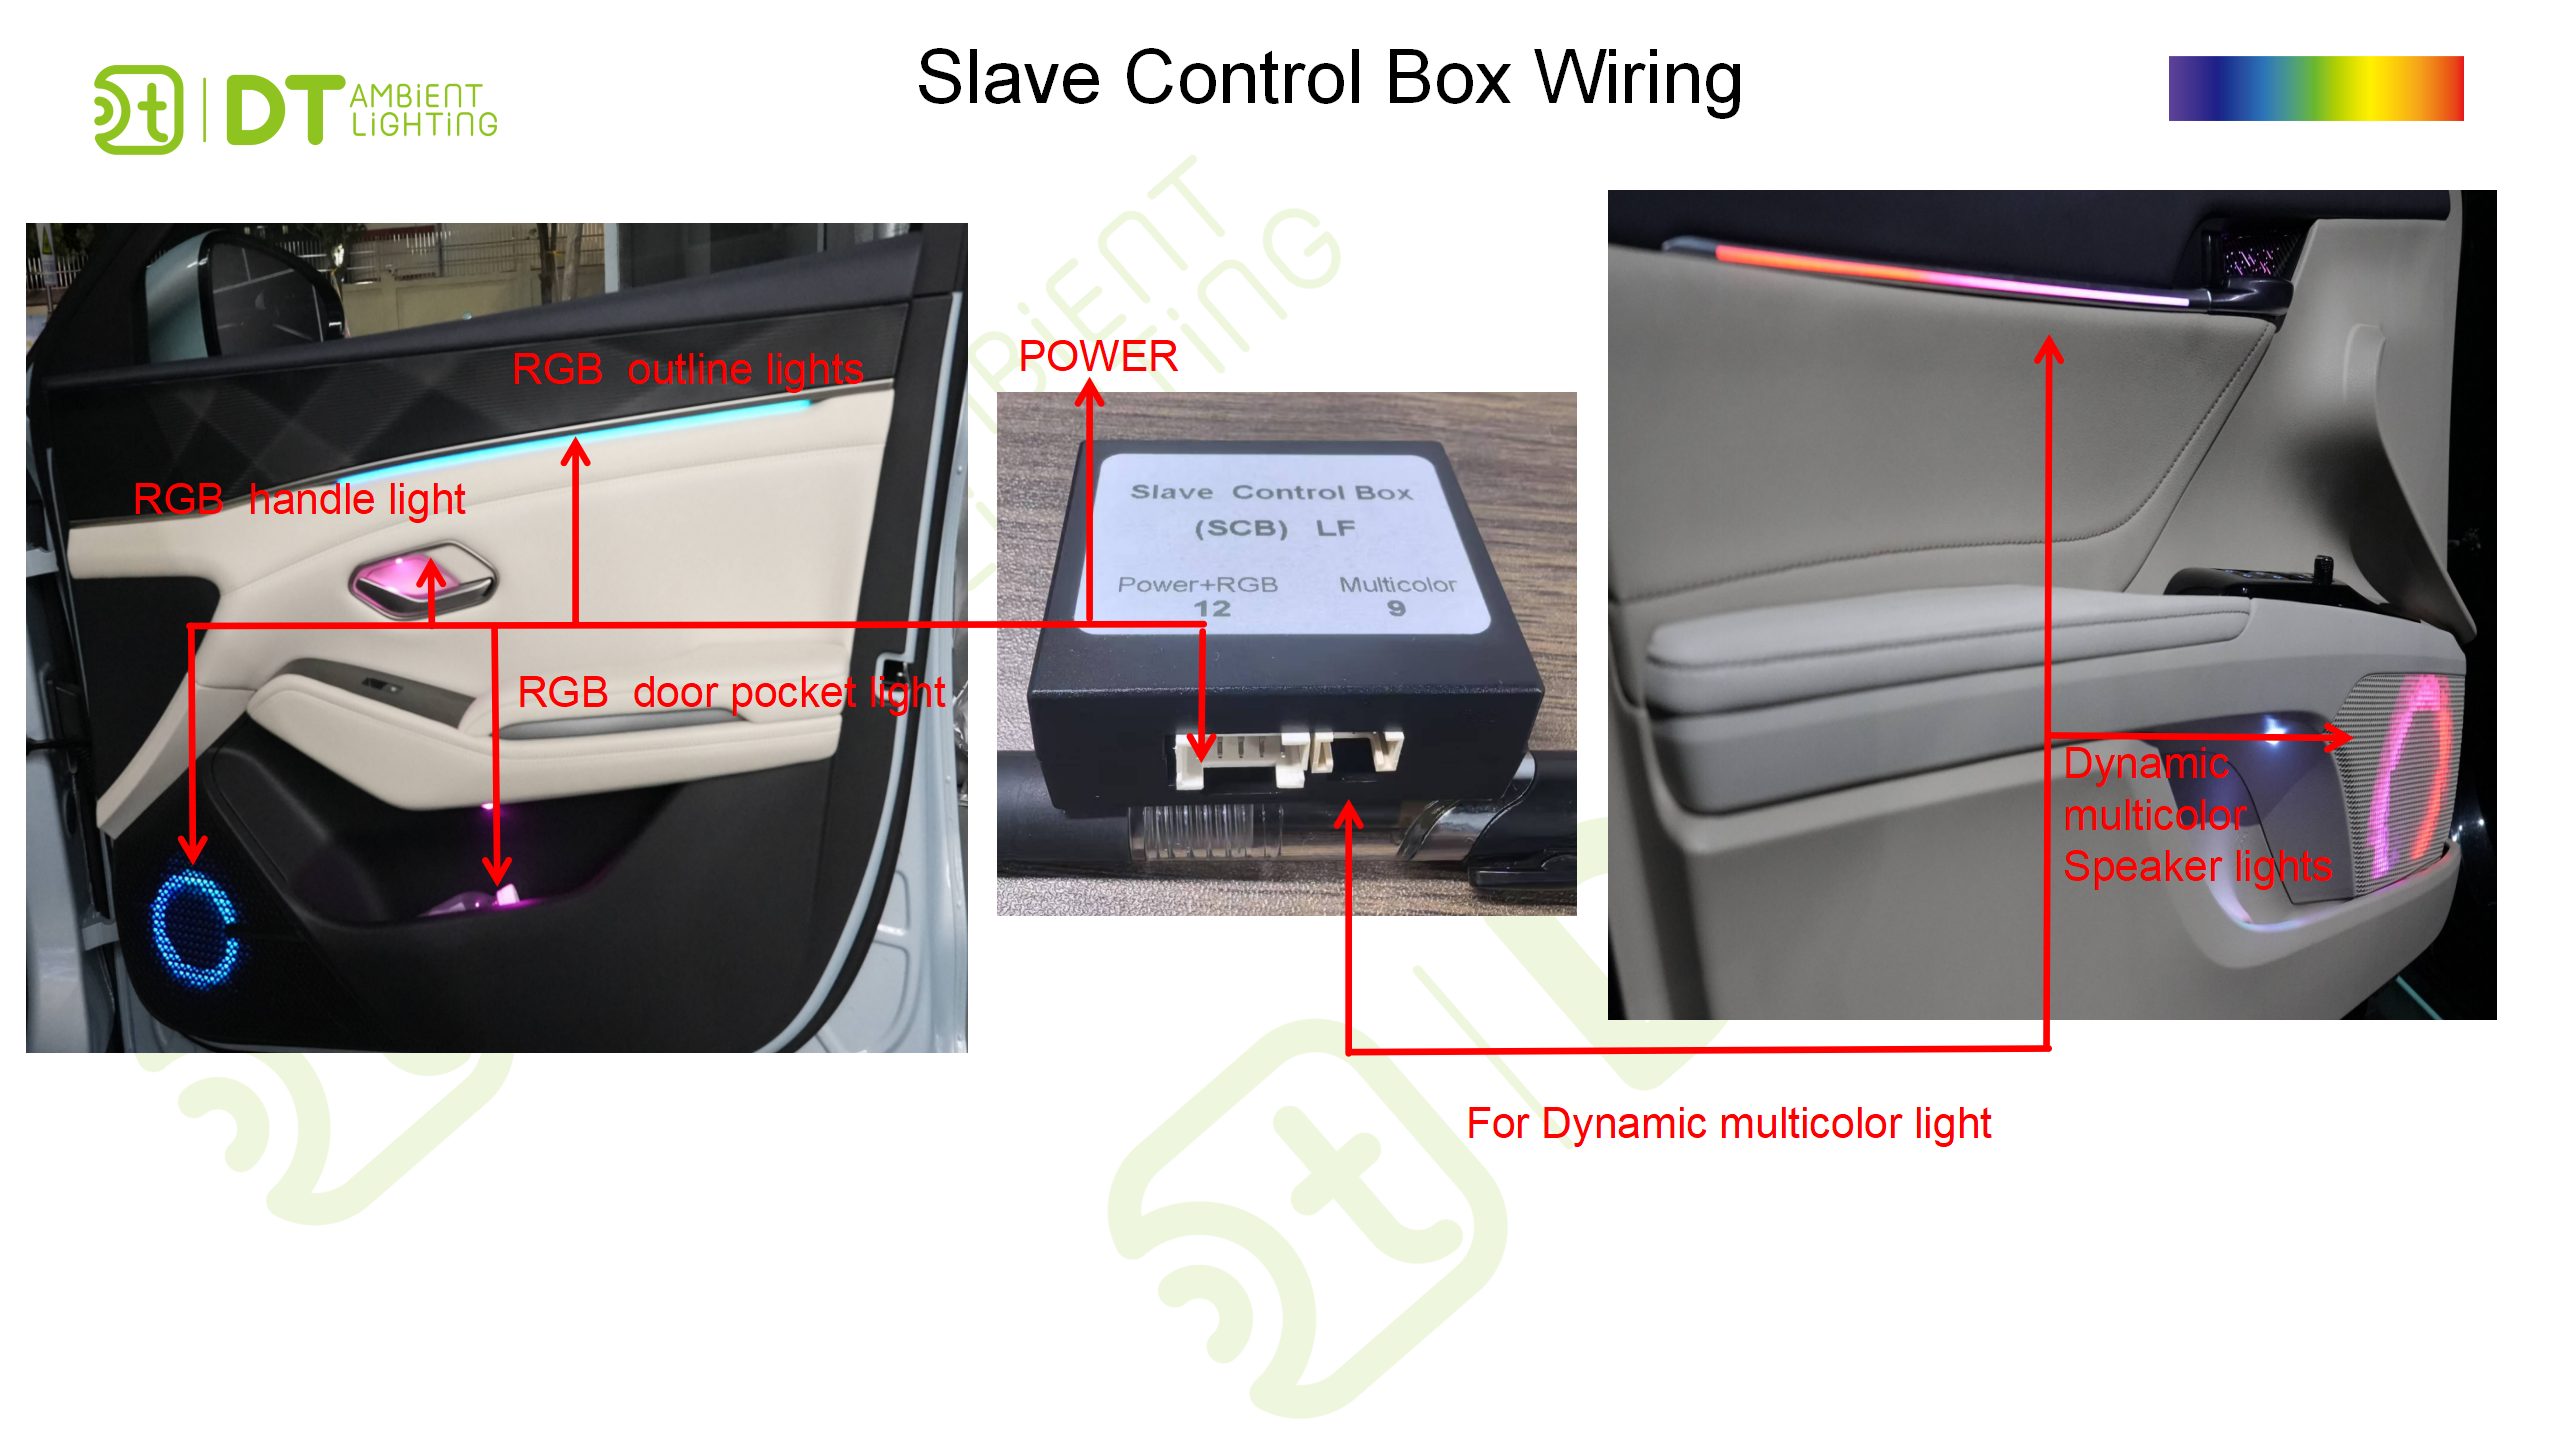
Slave Control Box Wiring

Installation Instructions for Interior Ambient Lighting (Non-Door Areas):

Installation Instructions for Interior Ambient Lighting (Non-Door Areas):

  • For all interior ambient lighting wiring, connections should be made from the master control box. This includes dashboard trim panel lights, dashboard strip lights, air vent lights, center console lights, footwell lights, cup holder lights, sunroof lights, backrest lights, etc.
  • Dashbaord Trim Panel Installation: Remove the original center console trim panel. Replace it with the ambient light trim panel. Connect wiring from the main control box.
  • Dashboard Strip Light Installation: Determine the installation position for the light strip. Remove dashbaord parts, then cut the light strip to appropriate length. Attach the light strip to the designated position while properly routing and connecting the wiring. Connect to the main control box.
  • Other Lights(Transmission Tunnel Lights/Air Vent Lights/Footwell Lights/Cup Holder Lights/Sunroof Lights/Seatback Lights): The installation process follows similar procedures, just install each light in its designated position. Connect all lihgts to the main control box. Note: If the length is not enough, connect the extension wire, if there’re insufficient connectors, use Y-splitter cables (1-to-2 or 1-to-3) for expansion.

Master Control Box Power Connection: 

  • Power Source: Typically connected through the vehicle fuse box, driver-side, or passenger-side power access points.
  • ACC Line: Connect to the vehicle’s original ACC power supply.
  • GND Line: Ground wire – connect to chassis ground or attach to a metal chassis point.
  • Parking Light Line: Connect to vehicle headlight circuit or ACC line.
  • LIN Line: Connect to vehicle’s original signal line. 
  • CAN-H/CAN-L: Connect to corresponding vehicle CAN bus lines.
  • (These communication lines are generally not connected unless vehicle screen control functionality is required.)

Installation Instructions for Door Position Lights

Installation Instructions for Door Position Lights:

  • For all ambient lighting wiring at door positions, connections should be made from the Slave-control box. This includes door trim panel lights, door strip lights, door speaker lights, handle lights, door pocket lights, etc. Each slave-control box corresponds to a specific door – please ensure correct matching.
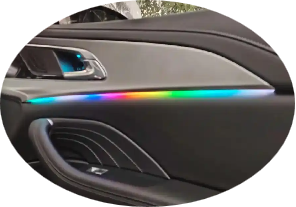
  • Trim Panel Installation: Remove the original door trim panel at the door position. Then replace it with the ambient light door trim panel. Connect wirs to the slave-control box.
  • Light Strip Installation: Determine the installation position. Remove door inside cover, cut the light strip to appropriate length, then attach the light strip to the designated position while properly routing and connecting the wiring. Connect wires to the slave-control box.
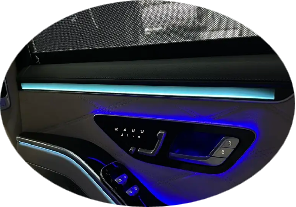
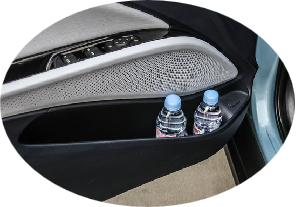
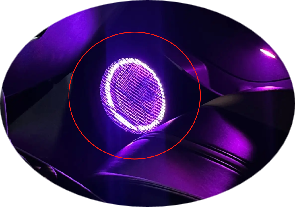
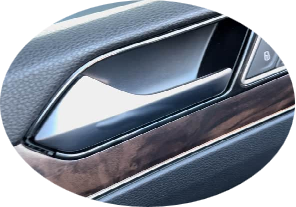
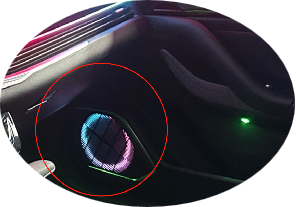
  • Handle Light/ Door Pocket Light/Speaker Light Installation: After removing the door panel, Install each light in its designated position. Connect all wires to the slave-control box.
  • Note: If the length is not enough, connect the extension wire, if there’re insufficient connectors, use Y-splitter cables (1-to-2 or 1-to-3) for expansion.


Slave-Control Box Power Connection:

  • Typically connect to door power ports using ACC (ignition-switched power) or constant power supply. 
  • For doors without power sources: Thread wires from door to the central control unit/dashboard area to obtain power.

Trouble Shooting

No.1

Problem: The ambient lights of the whole vehicle do not light up 

Possible causes: The DIP switch setting is incorrect 

Solutions: Check the DIP switch setting again according to the instruction manual. 

No.2

Problem: Only half of the RGB light strip lights up.

Possible causes: The number of LED beads setting is incorrect. 

Solutions: Connect to the APP, enter the factory settings, and increase the number of LED beads setting. 

No.3

Problem: The color of a single light is incorrect. 

Possible causes: The light is broken or the light connector is not properly plugged in. 

Solutions: Change the light with that of another position and use the elimination method to find out the specific cause. Check whether the pins of the connector are offset or pushed out, and whether the wire is broken. 

No.4

Problem: The APP cannot be connected. 

Possible causes:

1-The ambient light is not turned on.

2-Check if the mobile phone Bluetooth is turned on.

3-The location permission of the mobile phone has not been turned on. 

Solutions: Turn on the ambient light and check whether the mobile phone Bluetooth and the location permission are turned on (For detailed operations, refer to the instructions for using the APP). 

No. 5

Problem: The ambient light added to the car door does not light up. 

Possible causes: The original car’s small lights have not been turned on. (As the ambient light added to the car door turns on synchronously with the small lights.) 

Solutions: Turn on the original car’s small lights or headlights.

No.6

Problem: The brightness cannot be adjusted. When adjusted to the highest level, it will automatically drop to the lowest level. 

Possible causes: Wrong system flashing 

Solutions: Recover the oringal system